Vue实现无限级树形选择器(无第三方依赖)
罡风小天 -
想要在 Vue 中实现一个这样的无限级树形选择器其实并不难,关键点在于利用 递归组件 和 高阶事件监听,下面我们就一步步来实现它。
简单实现下样式创建 Tree.vue 组件(为方便阅读,代码有省略):
<template>
  <ul >
    <li v-for="(item, index) in data" :key="index">
      <i v-show="item.children" : />
      <p :>
        <label  @click="checked(item)">
          <input v-if="isSelect" v-model="item.checked" type="checkbox"  />
        </label>
        <span  @click="tap(item, index)">{{ item.title }}</span>
      </p>
      <!-- TODO -->
    </li>
  </ul>
</template>
<script>
export default {
  name: 'TreeMenus',
  props: {
    data: {
      type: Array,
      default: () => [],
    },
    // 是否开启节点可选择
    isSelect: {
      type: Boolean,
      default: false,
    },
  },
  data() {
    return {,
      tapScopes: {},
      scopes: {},
    }
  },
}
</script>
<style scoped>
...... some code ......
</style>
展开收缩我们使用 CSS 来创建一个三角形:
.triangle {
  width: 0;
  height: 0;
  border: 6px solid transparent;
  border-left: 8px solid grey;
  transition: all 0.1s;
  left: 6px;
  margin: 6px 0 0 0;
}
然后定义一个展开时的 class,旋转角度调整一下定位:
.caret-down {
  transform: rotate(90deg);
  left: 2px;
  margin: 9px 0 0 0;
}
由于每个节点控制展开闭合的变量都是独立的,为了不污染数据,这里我们定义一个对象 tapScopes 来控制就好,记得使用 $set 来让视图响应变化:
// 当点击三角形时,图标变化:
changeStatus(index) {
    this.$set(this.tapScopes, index, this.tapScopes[index] ? (this.tapScopes[index] === 'open' ? 'close' : 'open') : 'open')
}现在我们只渲染了第一层数据,如何循环渲染下一级数据呢,其实很简单,往上面 TODO 的位置插入组件自身即可(相当于引入了自身作为 components),只要组件设置了 name 属性,Vue 就可以调用该组件,:
<li v-for="(item, index) in data">
// .... some code ....
<tree-menus :data="item.children" v-bind="$props" />
</li>
<script>
export default {
name: 'TreeMenus'
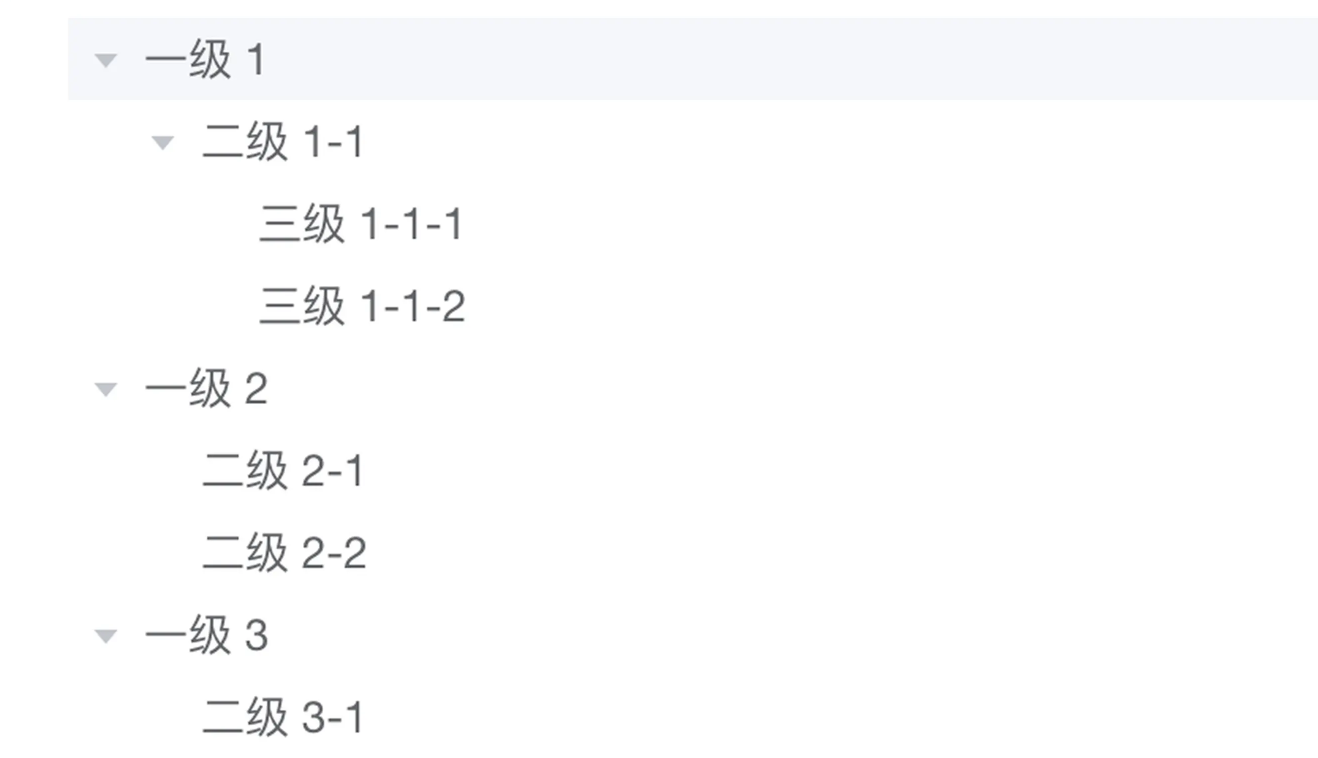
// .... some code ....递归组件接收相同的 props 我们不必一个个传递,可以直接写成 v-bind="$props" 把代理的 props 对象传进去(比如上面定义的 isSelect 就会被一直传递),只不过 data 被我们覆写成了循环的下一级。最后使用 v-show 控制一下展开闭合的效果,基本的交互就实现出来了:
<img src="https://p1-juejin.byteimg.com/tos-cn-i-k3u1fbpfcp/120f844c020248d6bf872526f1818deb~tplv-k3u1fbpfcp-watermark.image?" width="50%" />
<img src="https://p9-juejin.byteimg.com/tos-cn-i-k3u1fbpfcp/a74182e812a44918a1d1dcc07b8e08e5~tplv-k3u1fbpfcp-watermark.image?" width="50%" />
定义参数树形结构数据一般都是如下的 嵌套结构,再复杂也只不过是字段变多了而已,这几个 特征字段 是肯定存在的:key、label、children,以下面的参考数据为例: 这里的 key 是 id,用于标识唯一性(该字段在整棵树中是唯一的),label 则是 title 字段,用于显示节点名称,最后的 children 则是指下一级节点,它的特征与父级一致。
[
    {
        id: 1,
        title: "",
        children: [{
            id: 2,
            title: "",
            children: ......
        }]
    }
]所以我们的选择器组件可以定义一个关键参数选项,用于指定节点中的这几个属性值。
props: {
// ... some code ....
    props: {
      type: Object,
      default: () => {
        return {
          children: 'children',
          label: 'title',
          key: 'id',
        }
      },
    },
  },
组件中的一些关键参数都修改成动态的形式:
:key="index"            =>       :key="item[props.key]"
:data="item.children"   =>       :data="item[props.children]"
{{ item.title }} => {{ item[props.label] }}现在我们来实现一个点击事件 node-click: 为节点绑定一个 click 事件,点击后触发 $emit 把节点对象传进方法中即可:
<span  @click="tap(item, index)"> ... </span>

methods: {
    tap(item, index) {
      this.$emit('node-click', item)
    }
.........

// 调用时:

<Tree @node-click="handle" :data="treeData" />

methods: {
    handle(node) {
      console.log('点击节点 Data : ', node)
    }
.......这时问题来了,由于组件是递归嵌套的,如何在子节点中点击时也能触发最外层的事件呢?这时就需要利用 Vue 提供的 $listeners 这个 property,配合 v-on="$listeners" 将所有的事件监听器指向组件中循环的子组件:
<tree-menus .... v-on="$listeners"></tree-menus><img src="https://p6-juejin.byteimg.com/tos-cn-i-k3u1fbpfcp/7a7b6c257a024ba4852b51f56fe47012~tplv-k3u1fbpfcp-watermark.image?" width="70%" />
往组件中定义任何其它方法,都可以像这样正常触发到调用它的组件那里。
完整代码Tree.vue
<template>
  <ul >
    <li v-for="(item, index) in data" :key="item[props.key]">
      <i v-show="item[props.children]" : @click="changeStatus(index)" />
      <p :>
        <label  @click="checked(item)">
          <input v-if="isSelect" v-model="item.checked" type="checkbox"  />
        </label>
        <span  @click="tap(item, index)">{{ item[props.label] }}</span>
      </p>
      <tree-menus v-show="scopes[index]" :data="item[props.children]" v-bind="$props" v-on="$listeners"></tree-menus>
    </li>
  </ul>
</template>
<script>
const CARETS = { open: 'caret-down', close: 'caret-right' }
export default {
  name: 'TreeMenus',
  props: {
    data: {
      type: Array,
      default: () => [],
    },
    isSelect: {
      type: Boolean,
      default: false,
    },
    props: {
      type: Object,
      default: () => {
        return {
          children: 'children',
          label: 'title',
          key: 'id',
        }
      },
    },
  },
  data() {
    return {
      carets: CARETS,
      tapScopes: {},
      scopes: {},
    }
  },
  methods: {
    operation(type, treeNode) {
      this.$emit('operation', { type, treeNode })
    },
    tap(item, index) {
      this.$emit('node-click', item)
    },
    changeStatus(index) {
      this.$emit('change', this.data[index])
      // 图标变化
      this.$set(this.tapScopes, index, this.tapScopes[index] ? (this.tapScopes[index] === 'open' ? 'close' : 'open') : 'open')
      // 展开闭合
      this.$set(this.scopes, index, this.scopes[index] ? false : true)
    },
    async checked(item) {
      this.$emit('checked', item)
    },
  },
}
</script>
<style scoped>
.treeMenu {
  padding-left: 20px;
  list-style: none;
  position: relative;
  user-select: none;
}

.triangle {
  transition: all 0.1s;
  left: 6px;
  margin: 6px 0 0 0;
  position: absolute;
  cursor: pointer;
  width: 0;
  height: 0;
  border: 6px solid transparent;
  border-left: 8px solid grey;
}
.caret-down {
  transform: rotate(90deg);
  left: 2px;
  margin: 9px 0 0 0;
}
.checkbox-wrap {
  display: flex;
  align-items: center;
}
.checkbox {
  margin-right: 0.5rem;
}
.treeNode:hover,
.treeNode:hover > .operation {
  color: #3771e5;
  background: #f0f7ff;
}
.treeNode--select {
  background: #f0f7ff;
}
.treeNode:hover > .operation {
  opacity: 1;
}
p {
  position: relative;
  display: flex;
  align-items: center;
}
p > .title {
  cursor: pointer;
}
a {
  color: cornflowerblue;
}
.operation {
  position: absolute;
  right: 0;
  font-size: 18px;
  opacity: 0;
}
</style>
Mock.js
export default {
  stat: 1,
  msg: 'ok',
  data: {
    list: [
      {
        key: 1,
        title: '一级机构部门',
        children: [
          {
            key: 90001,
            title: '测试机构111',
            children: [
              {
                key: 90019,
                title: '测试机构111-2',
              },
              {
                key: 90025,
                title: '机构机构',
                children: [
                  {
                    key: 90026,
                    title: '机构机构-2',
                  },
                ],
              },
            ],
          },
          {
            key: 90037,
            title: '另一个机构部门',
          },
        ],
      },
      {
        key: 2,
        title: '小卖部总舵',
        children: [
          {
            key: 90037,
            title: '小卖部河边分部',
          },
        ],
      },
    ],
  },
}调用组件:
<template>
  <div >
    <Tree :isSelect="isSelect" :data="treeData" @node-click="handle" @change="loadData" />
  </div>
</template>

<script>
import Tree from '@/Tree.vue'
import json from '@/mock.js'

export default {
  components: { Tree },
  data() {
    return {
      treeData: [],
      isSelect: false,
      defaultProps: {
        children: 'children',
        label: 'title',
        key: 'id',
      },
    }
  },
  created() {
    this.treeData = json.data.list
  },
  methods: {
    handle(node) {
      console.log('点击节点 Data : ', node)
    },
    loadData(treeNode) {
      console.log(treeNode)
      // eg: 动态更新子节点
      // treeNode.children = JSON.parse(JSON.stringify(json.data.list))
      // this.treeData = [...this.treeData]
    },
  },
}
</script>Tags 标签
前端javascripthtml5css3vue.js扩展阅读
HTML5离线存储
2020-03-06 14:13:06 []CSGO电竞API数据接口【West S2战队数据】分享使用演示
2020-09-03 07:18:05 []wamp配置局域网访问
2020-09-04 01:12:17 []接口测试工具apipost3.0版本对于流程测试和引用参数变量
2020-09-15 15:12:13 []vs code的使用与常用插件和技巧大全总结
2020-09-17 03:07:47 []没有伞的孩子 [必须] 要学会奔跑
2020-09-17 04:49:49 []学习之apipost3.0文档移动和文档管理教程
2020-09-18 06:19:35 []分享—如何使用apipost模拟手机实现请求发送
2020-09-18 12:15:00 []【分享】apipost如何使用mock测试
2020-09-19 21:59:25 []Apipost使用技巧之分享
2020-09-19 11:44:49 []加个好友,技术交流
